Turn a screenshot into a downloadable iPhone mockup. The example below uses the same two images as the guide: a lock screen and a transparent device bezel. Select Create preview to try it.
Download the complete React example · Jump to the setup
You will learn how to:
- Fit an image into the screen without stretching it
- Clip the corners and align a transparent bezel
- Export a full-resolution PNG while keeping the preview responsive
The snippets explain each part of the process. The source download is the complete, working component used above.
Before we startLink to Before we start
Get the sample filesLink to Get the sample files
Download the sample screenshot and the iPhone 16 Pro bezel. Keep their file names and place both in your app's public images folder.
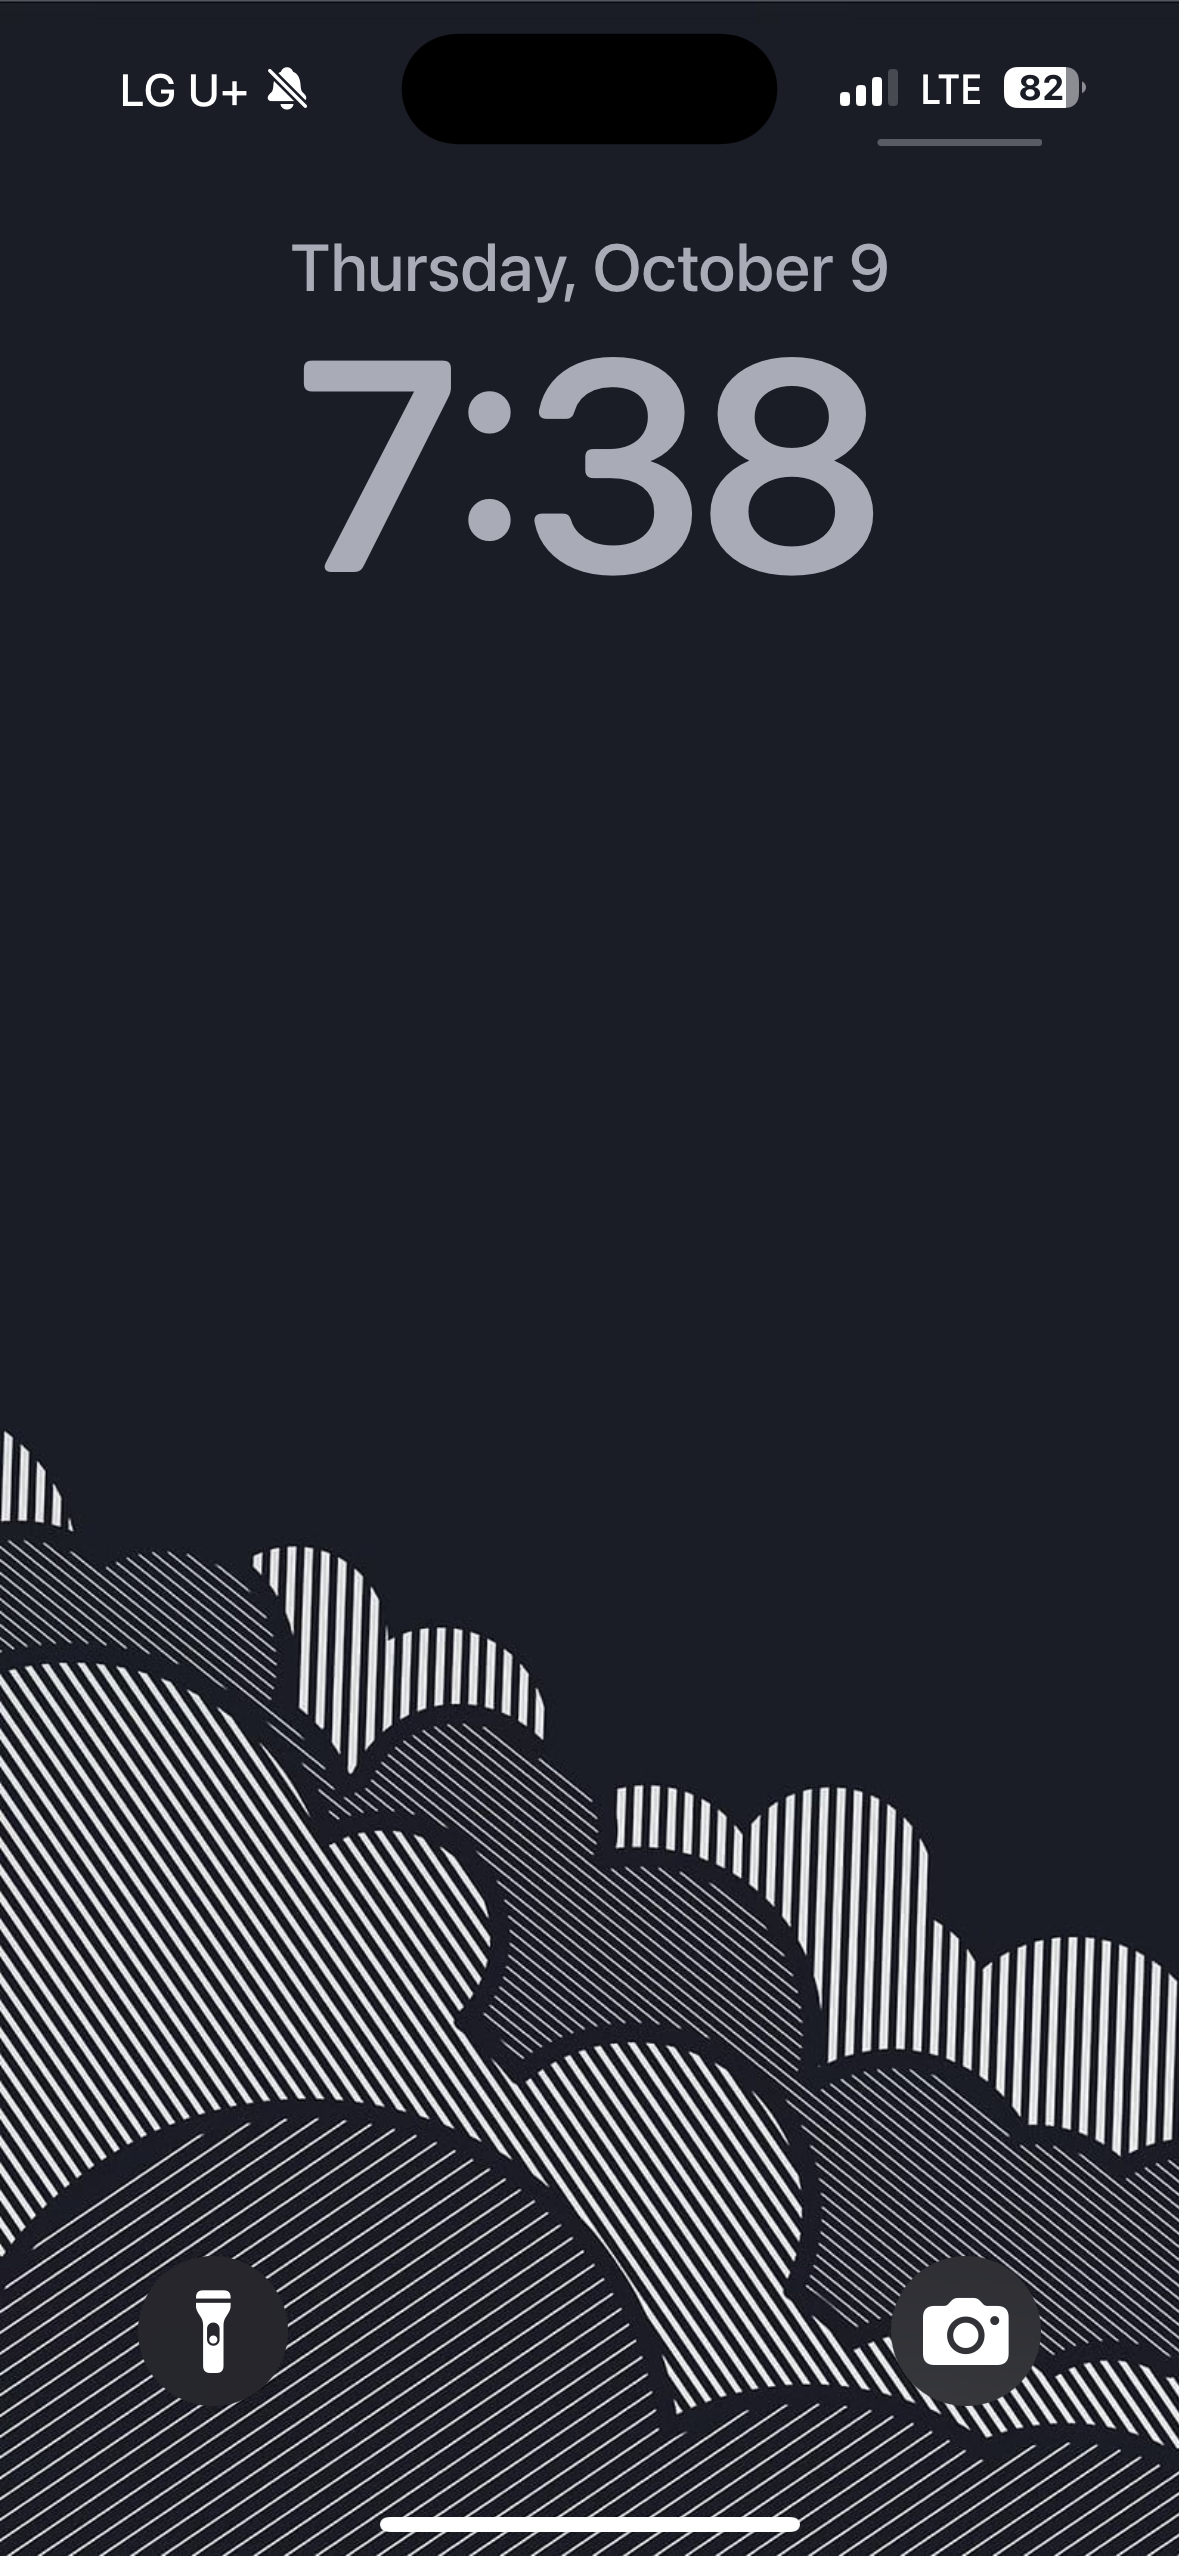
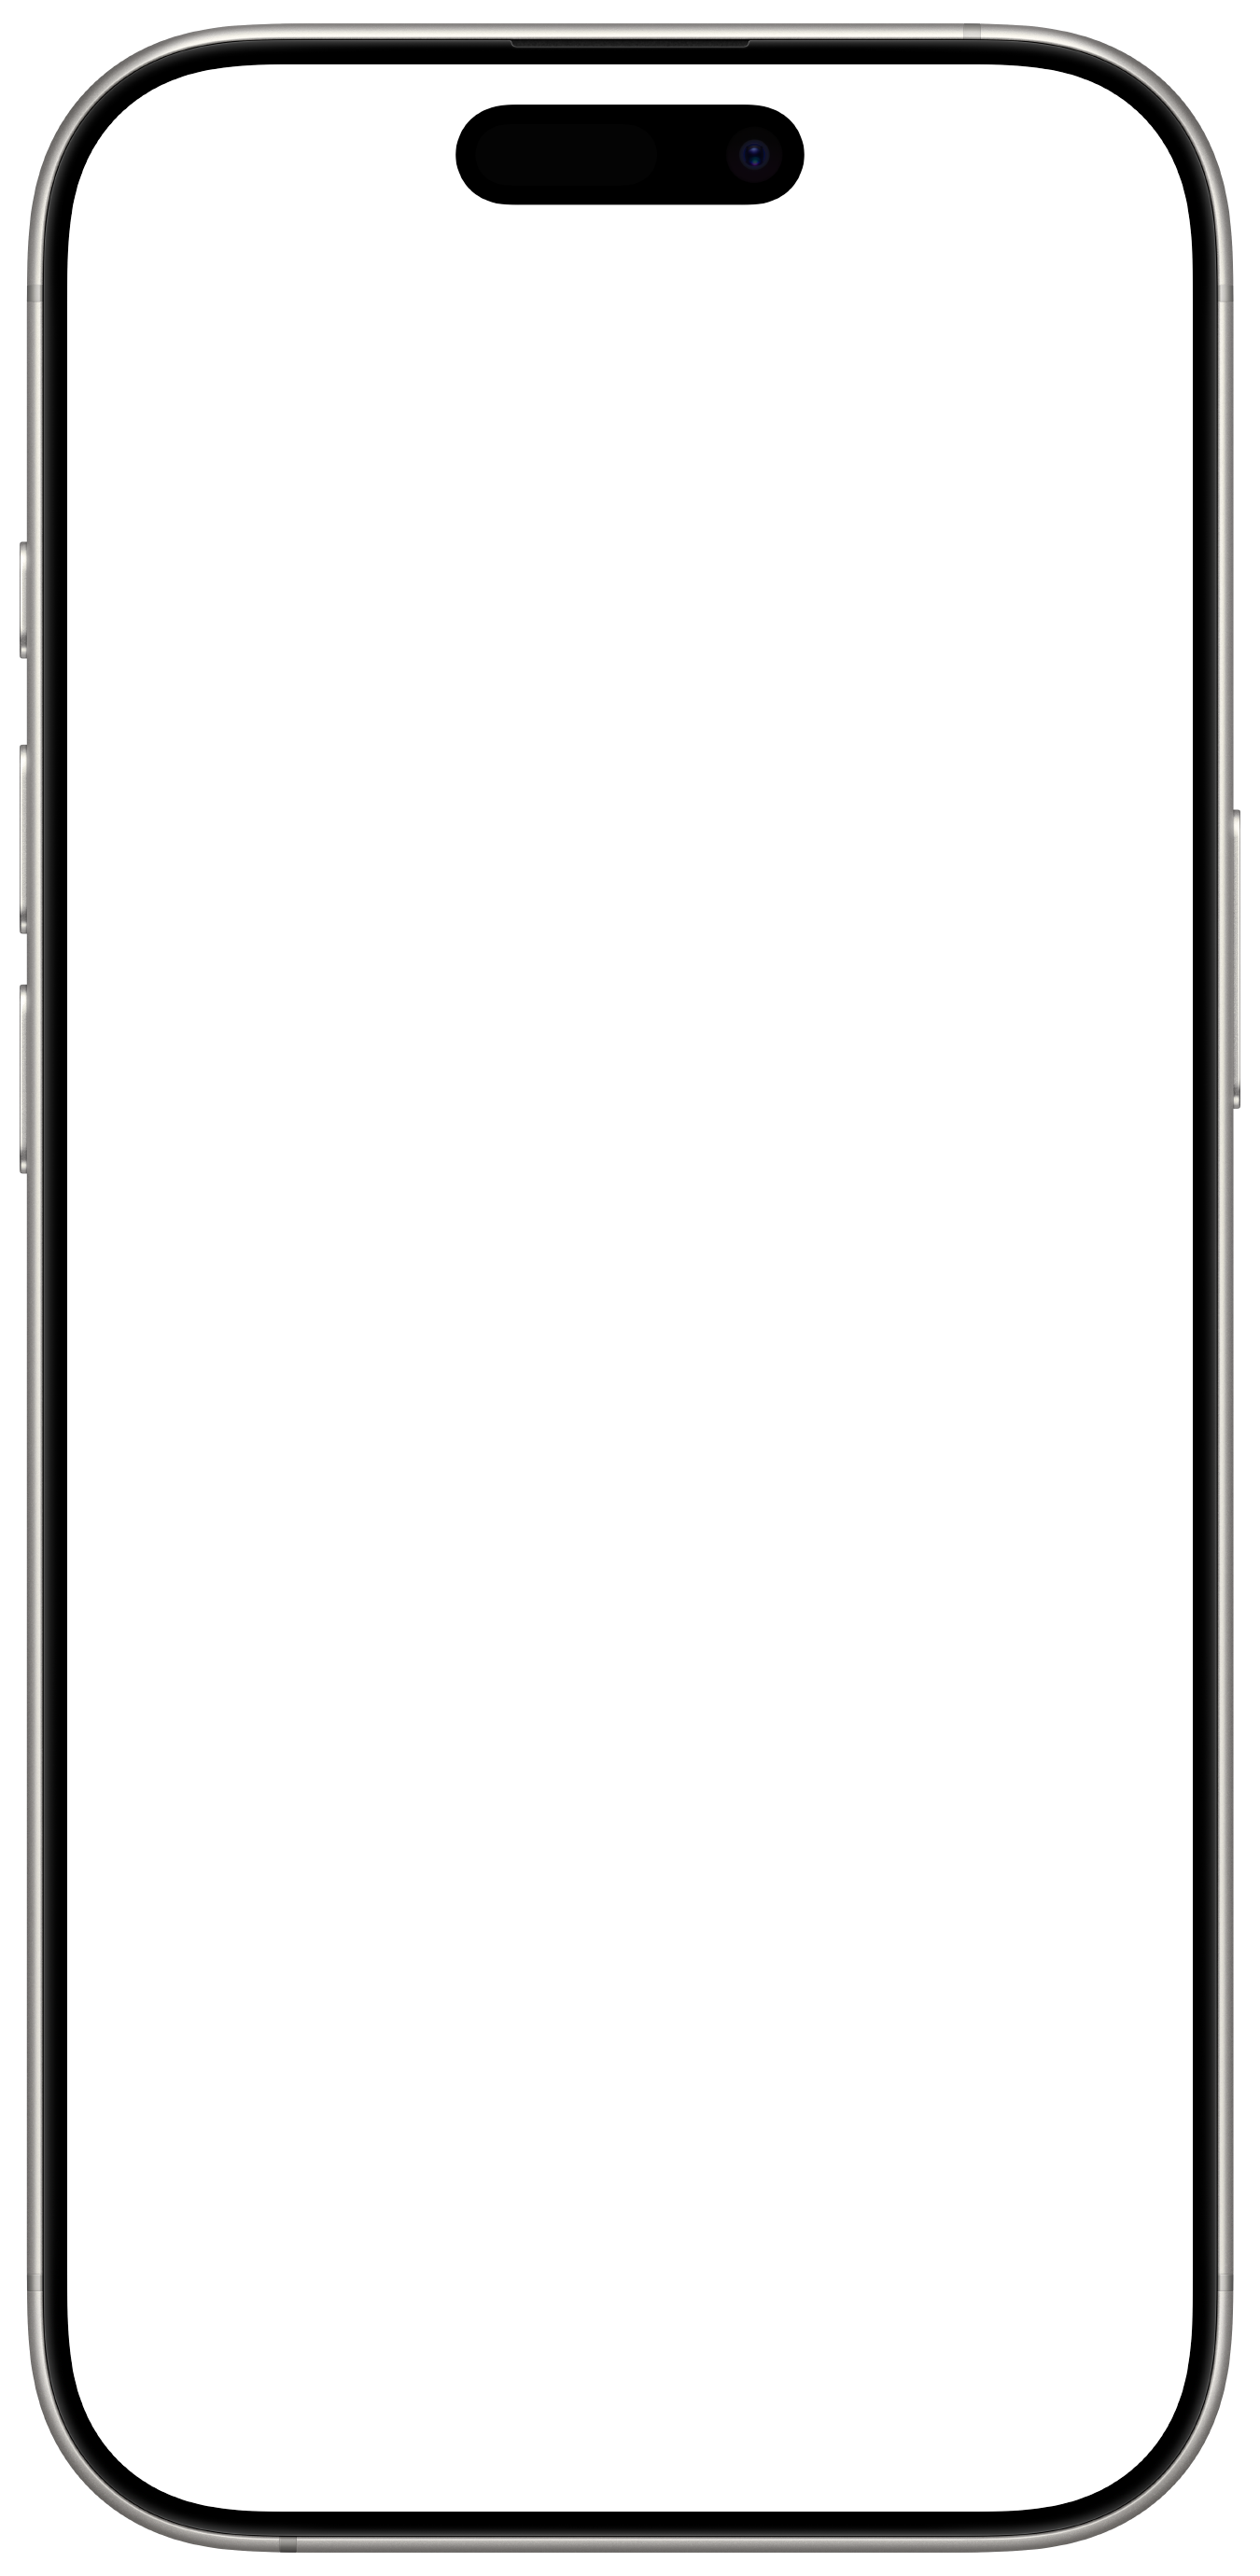
You can also find device bezels in Apple Design Resources. Each bezel needs its own screen coordinates; the values in this example belong to the included 1350 × 2760 image.
Run the exampleLink to Run the example
Save the source download as MockupExample.tsx in an existing React project, then render it with the path to your image folder:
import MockupExample from "./MockupExample";

export default function App() {
  return <MockupExample assetsBase="/images" />;
}
The component includes its own styles and uses only React and browser APIs. Select Create preview, choose a background, then select Download PNG. The output is 1600 × 1800 pixels.
Draw the mockupLink to Draw the mockup
Understanding the Canvas APILink to Understanding the Canvas API
Before we dive into the code, let's understand how we'll approach this problem. The Canvas API provides a 2D drawing context for creating masks, compositing layers, and rendering images.
For our iPhone mockup, we'll need to:
- Paint the background — Clear the output and choose its background
- Mask and draw the screenshot — Clip the screen rectangle and fit the image inside it
- Overlay the bezel — Draw the transparent frame over the screenshot
Step 1 — Create the canvas skeletonLink to Step 1 — Create the canvas skeleton
Set up a canvas ref, acquire a 2D context, and initialize a large enough drawing surface.
import React, { useEffect, useRef } from "react";

function MockupCanvasMini() {
  const canvasRef = useRef<HTMLCanvasElement>(null);

  useEffect(() => {
    const canvas = canvasRef.current;
    if (!canvas) return;
    const context = canvas.getContext("2d");
    if (!context) return;

    // Initial canvas size (large square for later steps)
    canvas.width = 2000;
    canvas.height = 2000;
  }, []);

  return <canvas ref={canvasRef} className="w-full h-auto" />;
}

export default MockupCanvasMini;
This effect does only two things: it acquires a 2D drawing context and sets an initial canvas size large enough for later steps. The willReadFrequently option is intended for repeated pixel readbacks such as getImageData(). It is not a general drawing optimization, so this example leaves it off. See the Canvas context documentation.
Step 2 — Load an image and draw itLink to Step 2 — Load an image and draw it
This isolated step accepts an already-started image promise. The complete example loads the screenshot and bezel together, handles loading failures, and ignores stale results after unmount.
import React, { useEffect, useRef } from "react";

type Props = { imagePromise: Promise<HTMLImageElement> };

function MockupCanvasMini({ imagePromise }: Props) {
  const canvasRef = useRef<HTMLCanvasElement>(null);

  useEffect(() => {
    (async () => {
      const canvas = canvasRef.current;
      if (!canvas) return;
      const context = canvas.getContext("2d");
      if (!context) return;

      canvas.width = 2000;
      canvas.height = 2000;

      const imageElement = await imagePromise;

      // Baseline logical size (we will refine these values later)
      const width = 1179;
      const height = 2556;

      // Center the image at 1:1 scale
      const offsetX = (canvas.width - width) / 2;
      const offsetY = (canvas.height - height) / 2;

      context.drawImage(imageElement, offsetX, offsetY, width, height);
    })();
  }, [imagePromise]);

  return <canvas ref={canvasRef} className="w-full h-auto" />;
}

export default MockupCanvasMini;
This effect awaits the provided imagePromise, computes a centered offset, and draws the image using the real variable names context, imageElement, offsetX, offsetY, width, and height. We still keep the numbers simple here and scale them in the next step.
Step 3 — Add multiplier and offsetsLink to Step 3 — Add multiplier and offsets
Fit the screenshot into a target box by using the smaller of width/height multipliers.
  // ...
  const canvas = canvasRef.current;
  // ...

  // Example base size (later replaced by deviceConfig.*)
  const baseWidth = 1179;
  const baseHeight = 2556;

  // Compute a multiplier to fit within a target “design” size
  const target = 1600;
  const widthMultiplier = target / baseWidth;
  const heightMultiplier = target / baseHeight;
  const multiplier = Math.min(widthMultiplier, heightMultiplier);

  const width = baseWidth * multiplier;
  const height = baseHeight * multiplier;
  const offsetX = (canvas.width - width) / 2;
  const offsetY = (canvas.height - height) / 2;

  context.drawImage(imageElement, offsetX, offsetY, width, height);
We now compute widthMultiplier and heightMultiplier, choose the smaller one as multiplier, and derive width, height, offsetX, and offsetY. The image is still centered, and later we will add the bezel and the clipping mask on top of this.
Step 4 — Clip rounded corners (screen mask)Link to Step 4 — Clip rounded corners (screen mask)
Create a rounded-rectangle clipping path so the screen looks like a device display.
  // Before drawing the image:
  context.save();
  context.beginPath();

  // Rounded rectangle path (top-left → top-right → bottom-right → bottom-left)
  const clipBorder = 60 * multiplier; // example corner radius in device pixels
  const right = offsetX + width;
  const bottom = offsetY + height;

  context.moveTo(offsetX + clipBorder, offsetY);
  context.lineTo(right - clipBorder, offsetY);
  context.quadraticCurveTo(right, offsetY, right, offsetY + clipBorder);
  context.lineTo(right, bottom - clipBorder);
  context.quadraticCurveTo(right, bottom, right - clipBorder, bottom);
  context.lineTo(offsetX + clipBorder, bottom);
  context.quadraticCurveTo(offsetX, bottom, offsetX, bottom - clipBorder);
  context.lineTo(offsetX, offsetY + clipBorder);
  context.quadraticCurveTo(offsetX, offsetY, offsetX + clipBorder, offsetY);

  context.closePath();
  context.clip();

  // Draw inside the clipped region
  context.drawImage(imageElement, offsetX, offsetY, width, height);

  context.restore();
The order is important here. We begin a path, define the rounded rectangle using quadratic curves, close the path, clip, draw the image inside the clipped region, and finally restore the context. Pairing save and restore ensures the clipping does not affect later drawing operations.
Step 5 — Optional background fillLink to Step 5 — Optional background fill
If you want a poster-like background, fill before clipping/drawing the image.
  // Optional background fill (draw this first)
  const showBackground = true;
  if (showBackground) {
    context.fillStyle = "#000";
    context.fillRect(0, 0, canvas.width, canvas.height);
  }
If you want a poster-like feel, you should fill the background first, otherwise the background rectangle would cover the image drawn later.
Step 6 — Overlay the bezelLink to Step 6 — Overlay the bezel
Draw a bezel PNG aligned to the same scaled area so the mockup looks realistic.
  async function loadImageFromSource(source: string): Promise<HTMLImageElement> {
    return new Promise((resolve, reject) => {
      const image = new Image();
      image.onload = () => resolve(image);
      image.onerror = () => reject(new Error(`Could not load ${source}`));
      image.src = source;
    });
  }

  // After drawing the clipped screenshot:
  const bezel = await loadImageFromSource("/images/iphone16_pro_whitetitanium.png");

  // Example offsets if bezel art extends beyond the screen rectangle
  const bezelOffsetX = offsetX - 60 * multiplier;
  const bezelOffsetY = offsetY - 120 * multiplier;
  const bezelWidth = width + 120 * multiplier;
  const bezelHeight = height + 240 * multiplier;

  context.drawImage(bezel, bezelOffsetX, bezelOffsetY, bezelWidth, bezelHeight);
The bezel image should be authored to match the screen area plus bezels at the same scale. Using the same multiplier and offsets ensures the overlay aligns precisely on top of the clipped screenshot.
Step 7 — Download the resultLink to Step 7 — Download the result
Export the canvas to a PNG or JPG and trigger a download.
function downloadFromCanvas(
  canvas: HTMLCanvasElement,
  fileName: string,
  useJpg: boolean
) {
  const mime = useJpg ? "image/jpeg" : "image/png";
  const url = canvas.toDataURL(mime);

  const link = document.createElement("a");
  link.href = url;
  link.download = fileName;

  document.body.appendChild(link);
  link.click();
  document.body.removeChild(link);
}
PNG preserves transparency while JPG is better suited for solid backgrounds. It is convenient to generate a timestamped or indexed filename so that batch exports remain ordered and unambiguous.
Step 8 — Responsive scaling recapLink to Step 8 — Responsive scaling recap
Derive the multiplier from device specs and viewport size. Use the smaller axis to avoid cropping. For layout, keep the canvas responsive with width-constrained classes (for example, max width on small screens) while preserving aspect ratio.
Complete exampleLink to Complete example
Download MockupExample.tsx to get the exact component running at the top of this page. It includes loading and retry states, PNG export, cleanup after unmount, and the measured coordinates for the sample bezel.
The step-by-step snippets above use simplified dimensions to explain the drawing operations. For the included bezel, use the values from the complete example instead of combining those illustrative offsets.
Things to check when adapting itLink to Things to check when adapting it
- Layer order: paint the background first, then the clipped screenshot, then the bezel. The screen area of the bezel must be transparent
- Image proportions: use the larger scale factor to fill the screen without stretching. This crops extra content around the center
- Export failures: host the images with your app. A remote image without appropriate CORS headers can make the canvas unavailable for export
- Preview and output size: CSS controls the displayed size; the canvas width and height control the exported resolution
- Loading races: cancel stale effects so that an older request cannot repaint a newer preview
The resultLink to The result
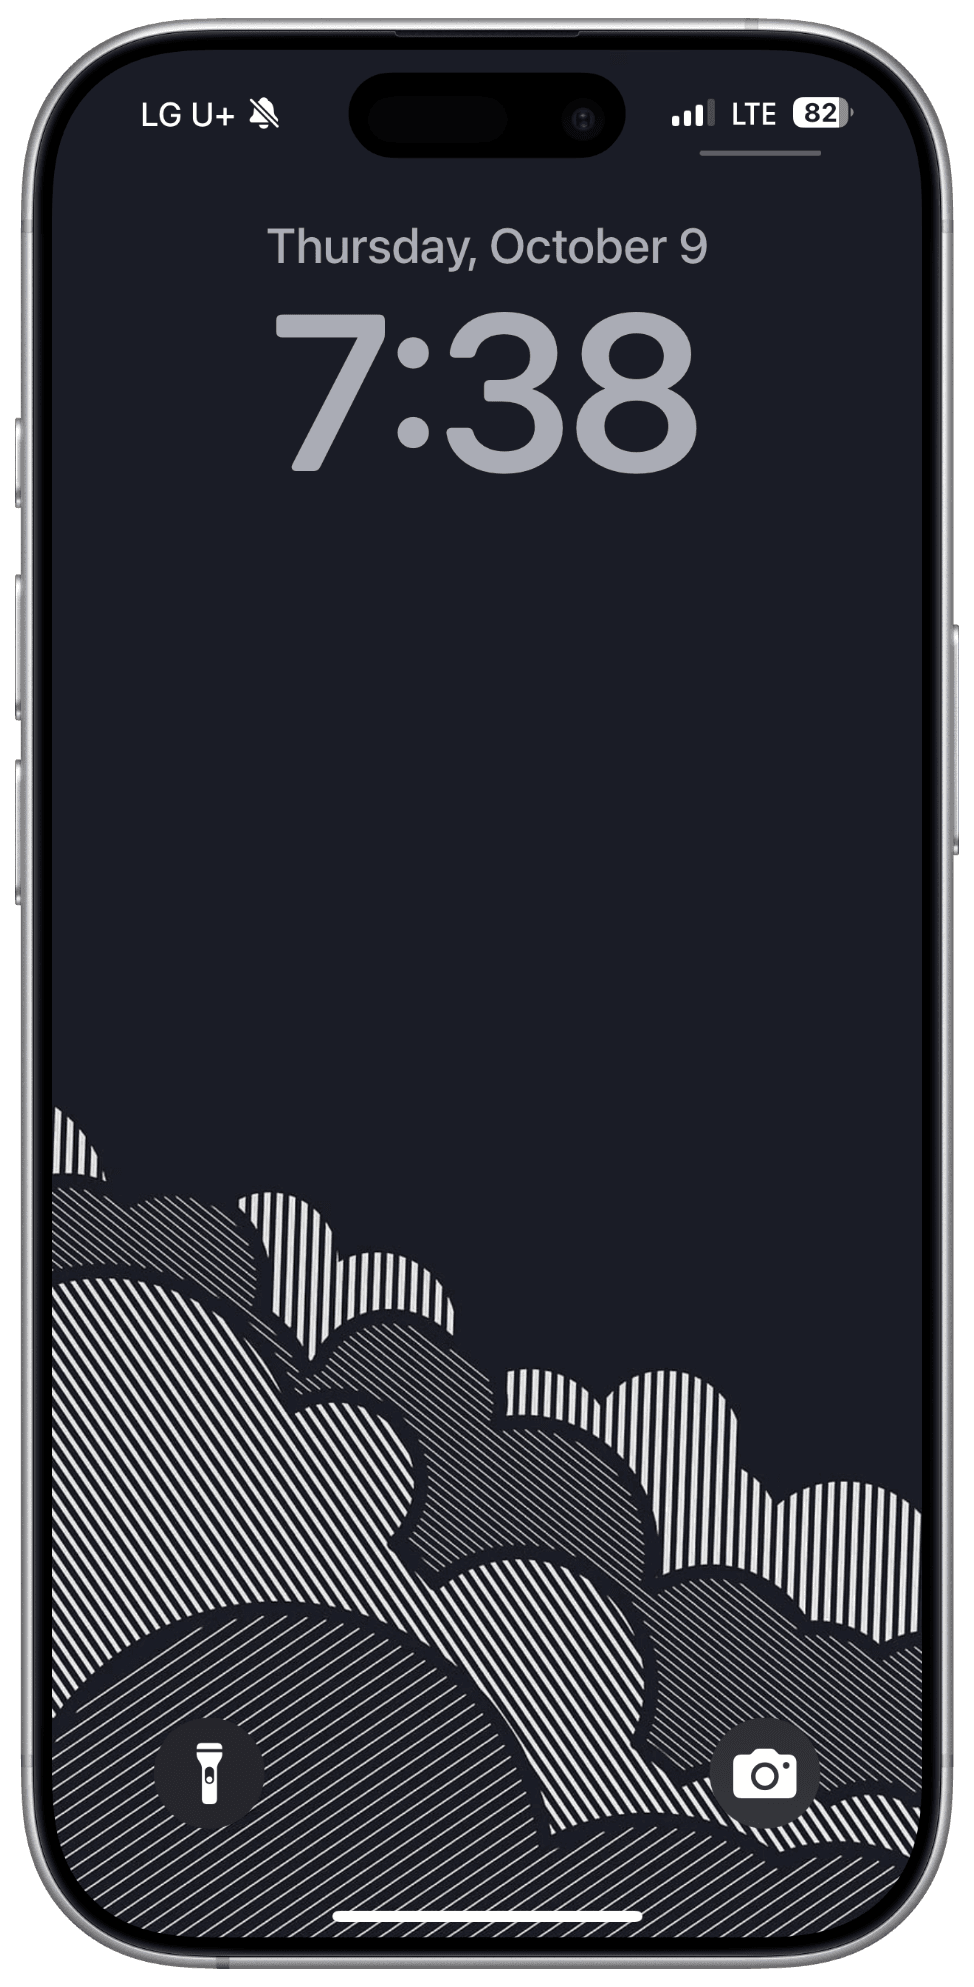 The result
The result combines the screenshot, clipped screen, and bezel into a single image. You can extend the same process to another device by measuring its screen rectangle and corner radius.
Try the interactive example or download the source to adapt it to your own project.